How to Install
Supported Blender versions
- Blender 4.5+
- Other versions remain unconfirmed. Since it's a basic modifier-based system, it might work on earlier versions, but not guaranteed.
Installation Procedure
Step 1: Download the Add-on
Download the SDFusion add-on ZIP files from Superhive Market or other sources.
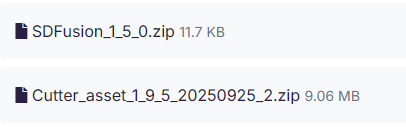
You will receive:
- Main add-on file: SDFusion_x_x_x.zip (core add-on)
- Asset file: Cutter_asset_x_x_x.zip (optional, for additional cutters)
The numbers in the filenames indicate the version, so they may differ from those shown in this image.
Step 2: Install the Add-on
- Open Blender
- Go to Edit > Preferences > Add-ons
- Click Install... button
- Select the SDFusion ZIP file and click Install Add-on
- Enable the "SDFusion" add-on by checking the checkbox
Installing Asset Files (v1.7.0+)
SDFusion v1.7.0 and later includes a built-in Asset Installer for easy setup.
Using the Asset Installer (Recommended)
- Go to Edit > Preferences > Add-ons
- Find and expand SDFusion
- You will see the Asset Library configuration panel
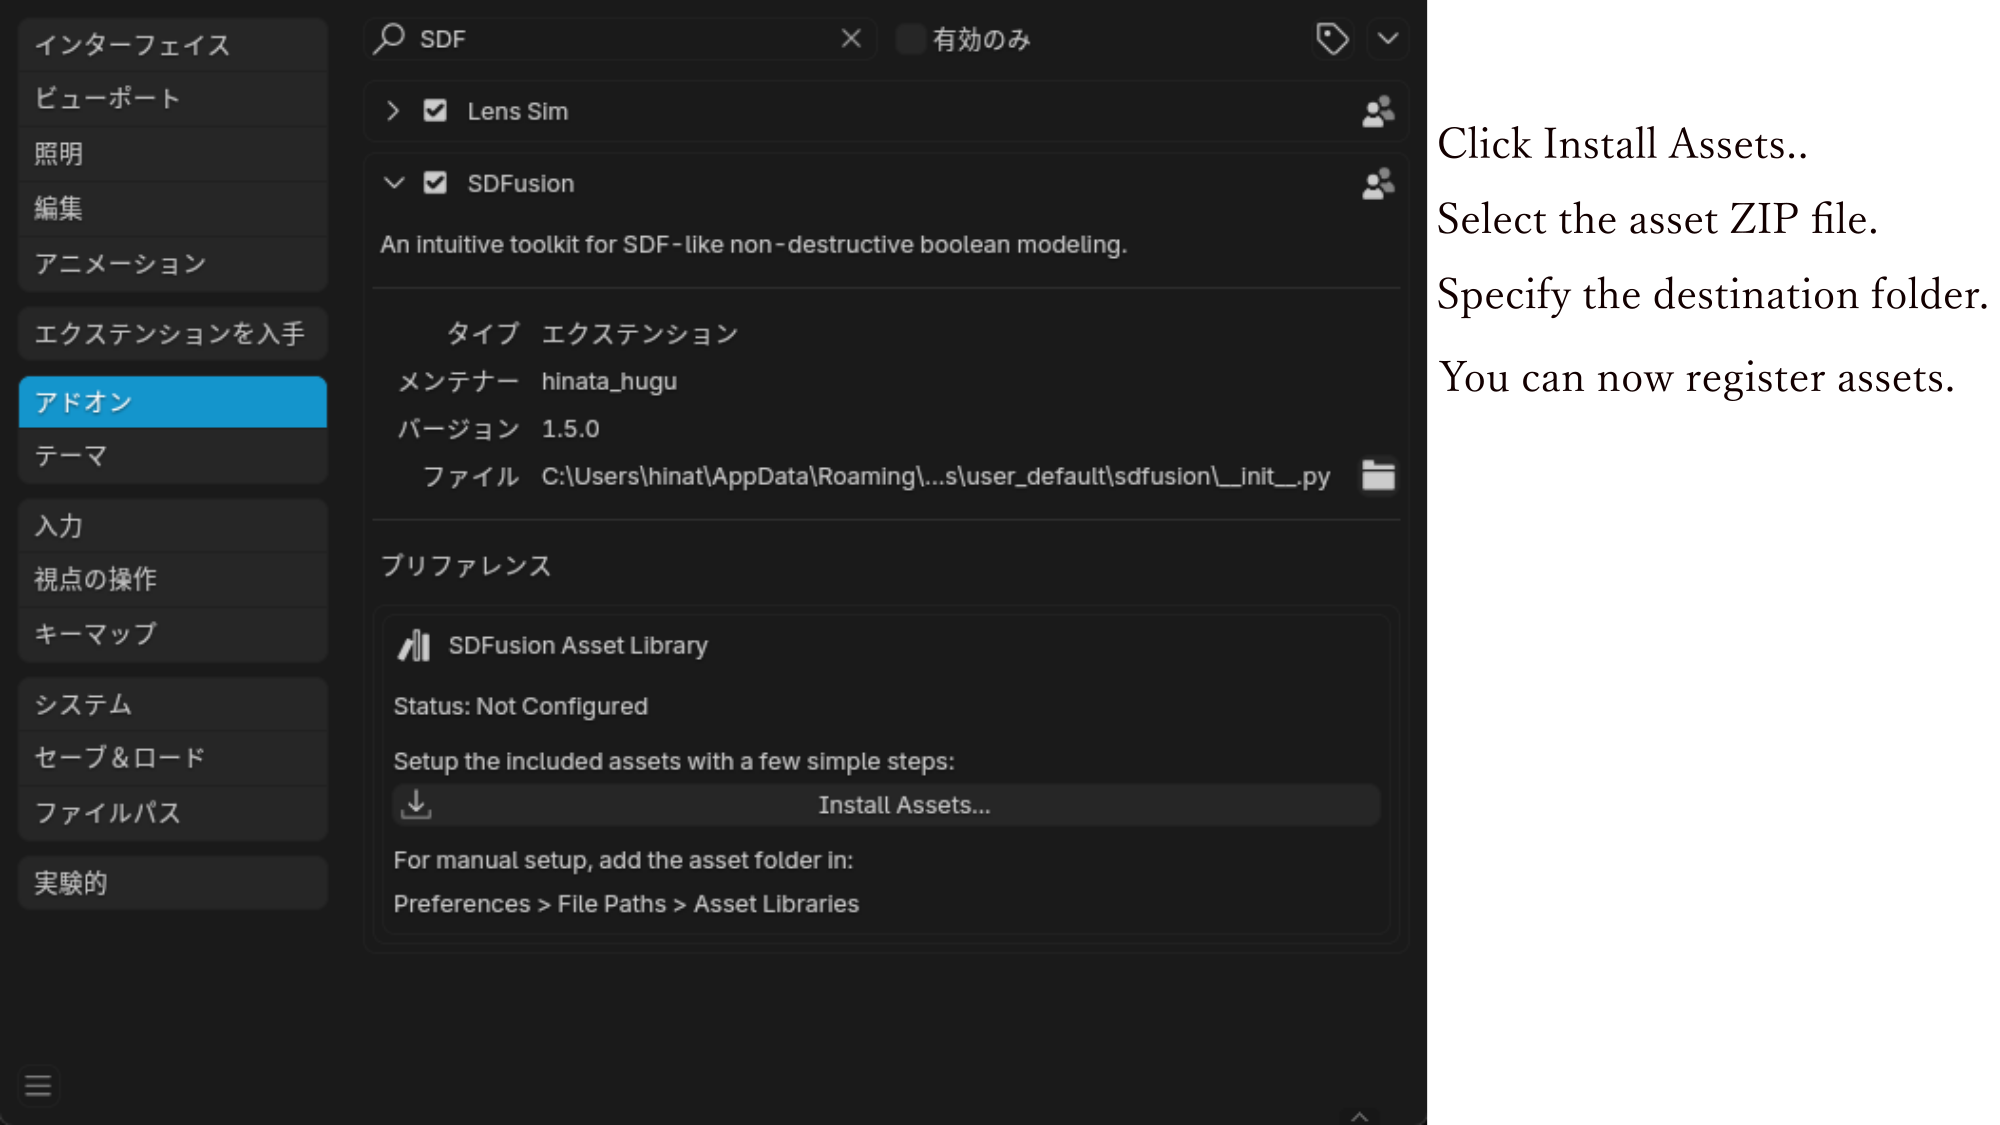
For New Installation:
If no assets are configured yet, you'll see "Status: Not Configured".
- Click "Install Assets..." button
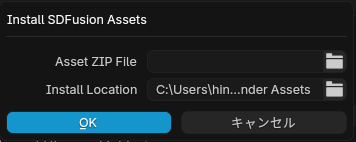
- In the dialog:
- Asset ZIP File: Select your
Cutter_asset_x_x_x.zipfile - Install Location: Choose a folder (default:
Documents/Blender Assets) - Click OK to install
The installer will: - Extract the ZIP file to the selected location - Automatically register it as a Blender Asset Library - Name the library "SDFusion Assets"
For Update/Reinstall:
If assets are already configured, you'll see "Status: Configured Successfully" with the current location.
- Click "Update / Reinstall Assets..." button
- Select the new ZIP file
- Confirm to replace existing assets
Warning: Updating will overwrite all existing assets in the library.
Manual Installation (Alternative)
If you prefer manual setup:
- Extract the asset ZIP file to a folder of your choice
- Go to Edit > Preferences > File Paths > Asset Libraries
- Click + to add a new library
- Navigate to the extracted folder
- Name it "SDFusion Assets" (or any name you prefer)
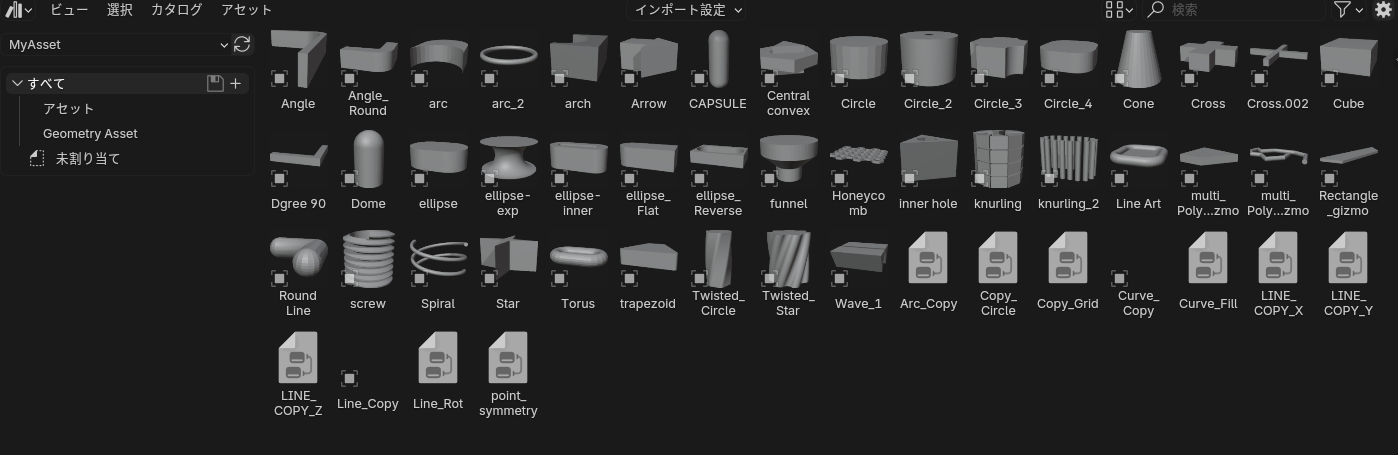
Verify Installation
- Open Blender's Asset Browser
- Select "SDFusion Assets" from the library dropdown
- You should see all the cutter objects and node groups
Access SDFusion
After installation: 1. Open a 3D Viewport 2. Press N key to open the sidebar 3. Find the SDFusion tab
You're now ready to start using SDFusion!
Next : How to Use